
Hello everybody! As mentionned in the previous post all about our favourite spring things, here is an introduction to High Flow paints by Golden Acrylic, and a quick project using a great technique I love, pouring medium.
Let’s start with a small introduction to the materials we will be using! High Flow is a relatively new product from Golden Artist Colors. I believe they were first introduced in 2013, as a replacement, and more versatile alternative to their airbrush paint series. High Flow, as the name implies, is a very flow-y paint. To compare, a Heavy Body paint (which is usually the norm to most painters) is about the consistency of working with smooth butter, a Fluid paint (which Golden also carries) flows sort of like a nice barbecue sauce, and High Flow is a very water-like consistency.
The big advantage of High Flow is that they have created a paint that can still be very opaque, and extremely fluid at the same time. If you’ve ever tried to add a lot of water or acrylic medium to your paint to get a more flow-y consistency, you’ve probably noticed that the paint becomes very translucent, and can even dry blotchy and grainy. That happens because a) you can only “safely” add about 10% the amount of water to your paint or it will begin to weaken the link between the pigments and the binder in your paint, leaving your grains of pigment on the loose with nothing to hold them together or b) adding acrylic medium (which is basically what your paint is made with) changes the ratio of binder to pigment in the paint, making it more translucent.
Another awesome thing with High Flow is that it can be used with a variety of techniques, with air brush, dip pens, you can fill empty markers with it, and you can use it straight out of the bottle (which is what I’ll be doing in this project). It is also great if you want to add small details to paintings with tiny brushes, as it is not as thick as regular paint. The series has 49 different colours, with a great range of opaque (they have the white bottle tops) and transparents (with the translucent bottle tops) and even includes iridescents (gold, silver, pear & copper), and finally some very bright fluorescent colours like pink, blue, green, chartreuse and a super bright orange.

You may click on this image to go to the Product information sheet on Golden’s website, which includes tips on using other mediums with it and more technical information.
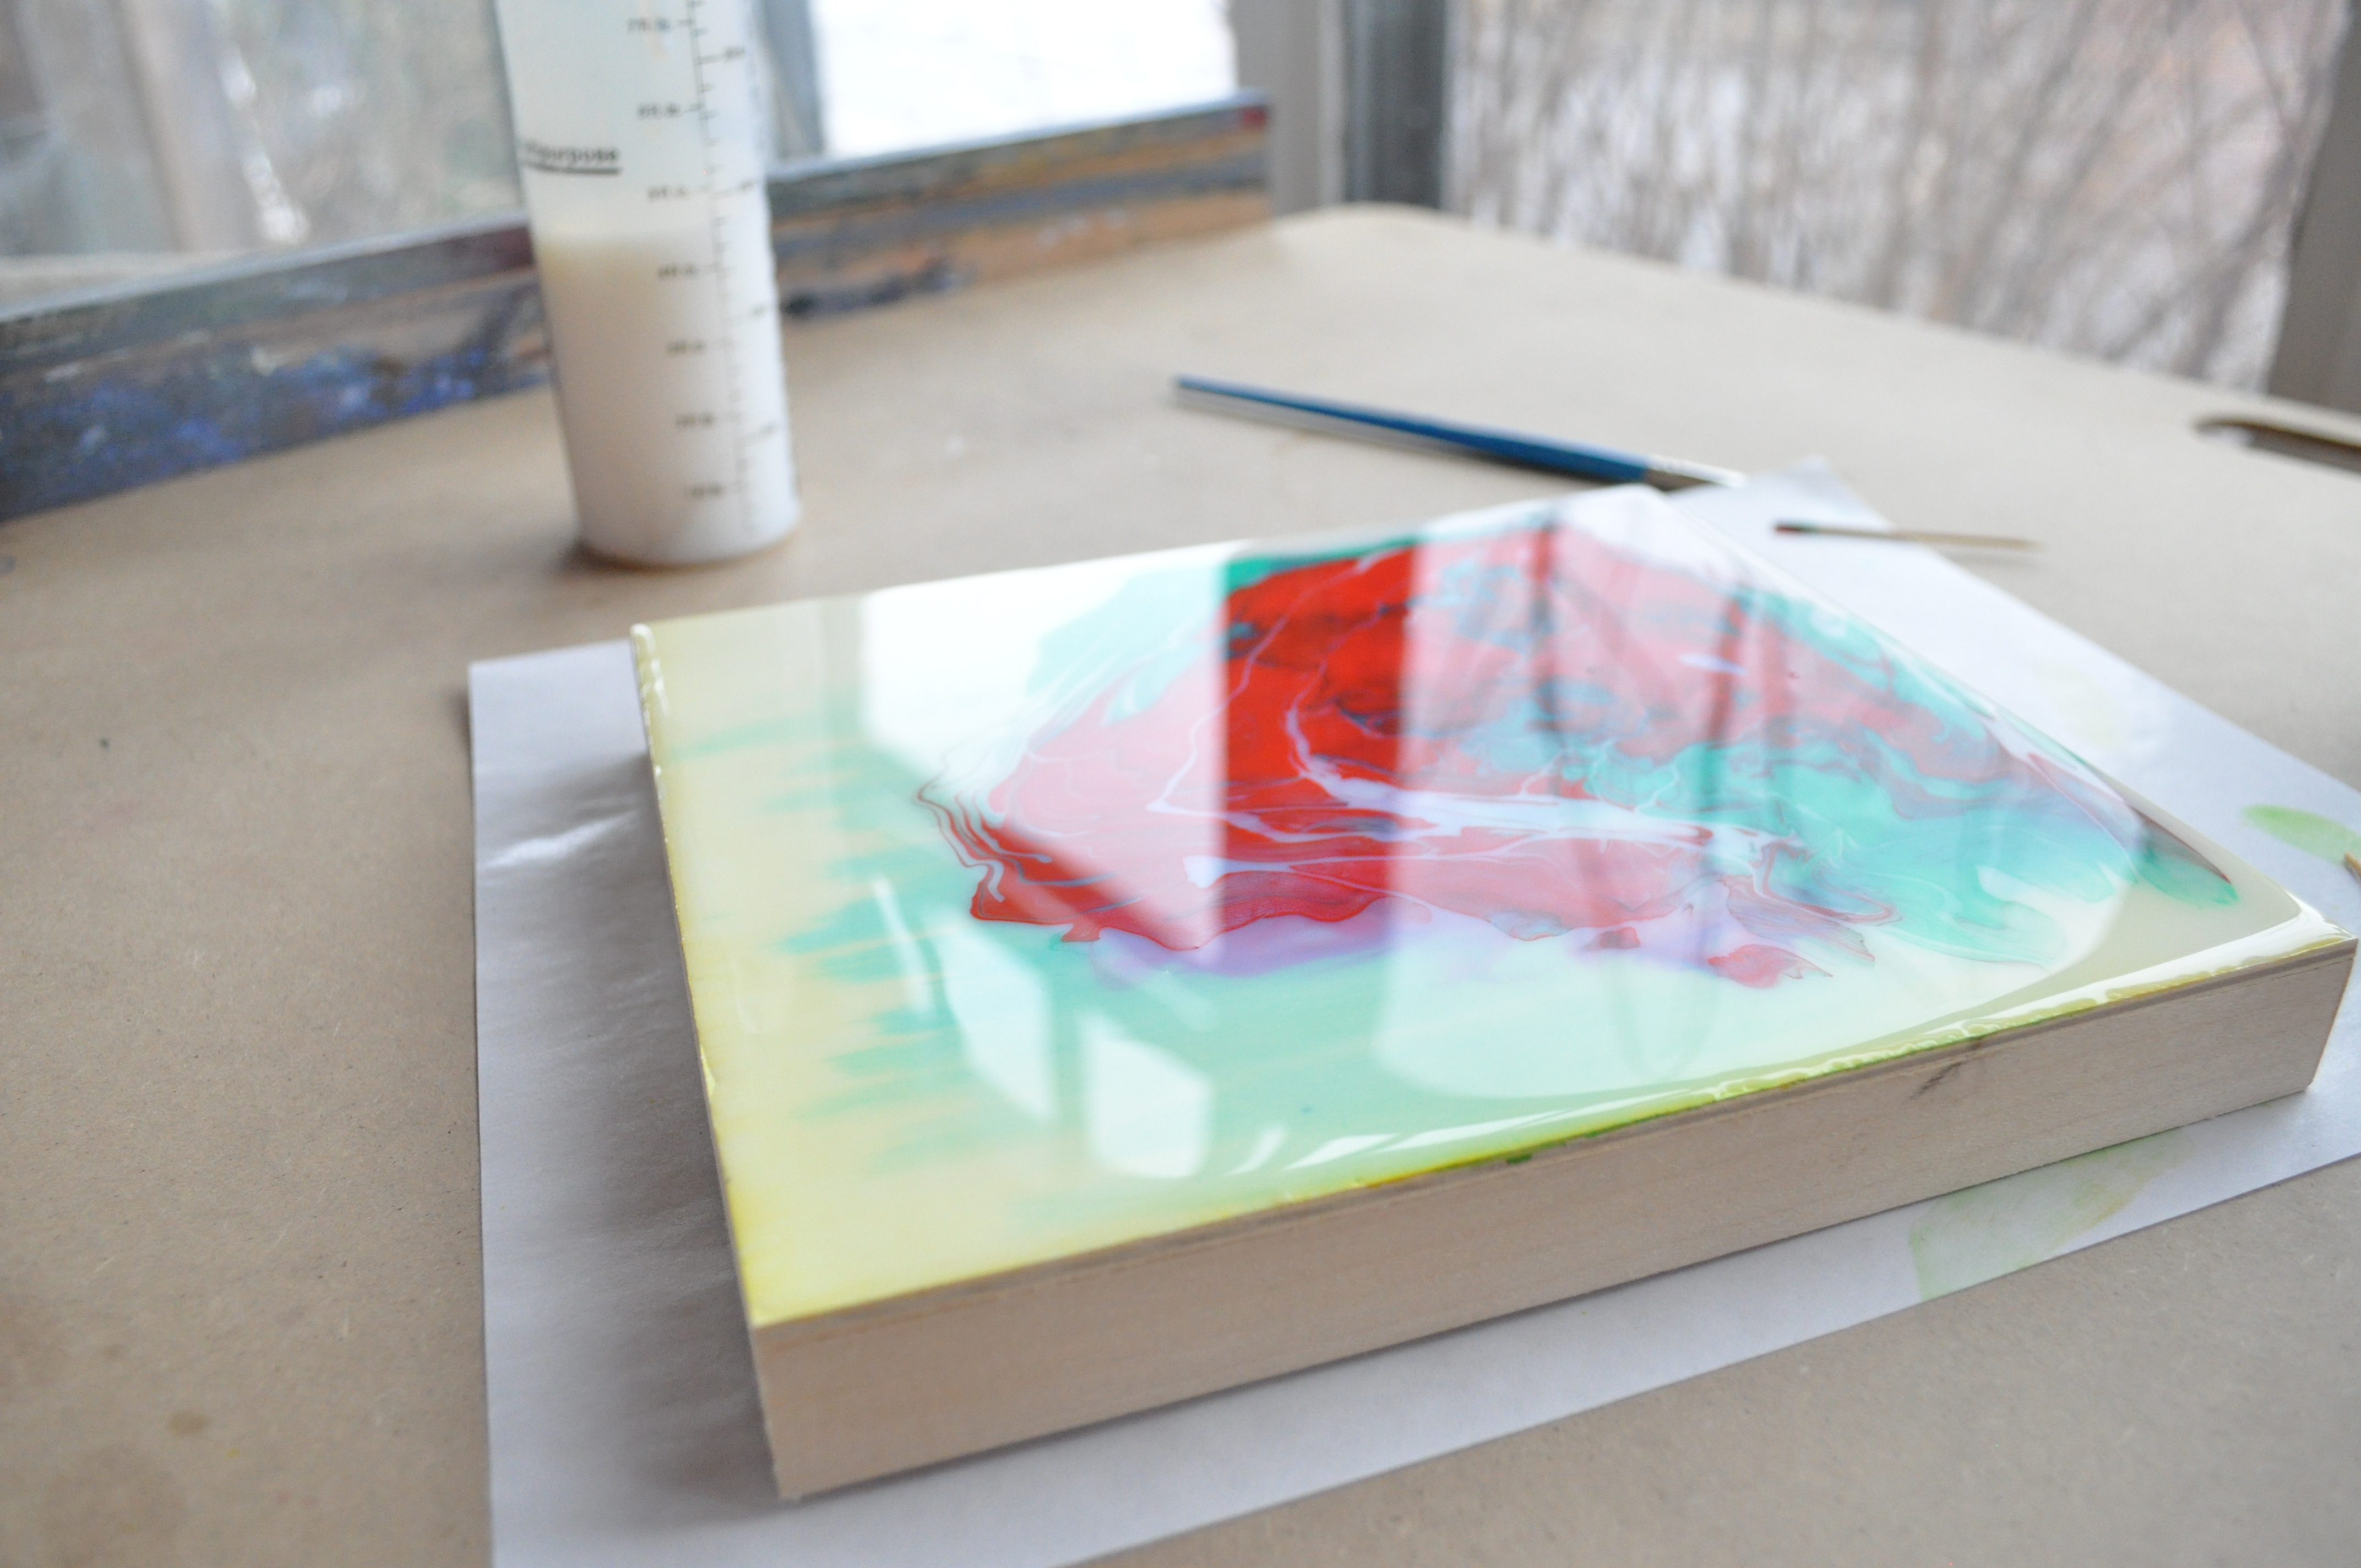
The second product used in this project is Liquitex pouring medium. This is a low viscosity (very fluid), clear, and high gloss acrylic medium. It is about the consistency of warm honey; quite sticky also. It can ben used with your regular heavy body paint to make them flow easier, and create cool dripping effects. It is also available from other brands than Liquitex, but this is the one I prefer. In this image bellow the piece on the left has been created with the Liquitex medium, and the one on the right was created with another brand of pouring medium, which I find was quite a lower quality – you can easily see that it separated the red paint quite a bit while drying, which is a cool effect, but not really what I was going for… and if you look close enough you can see small cracks in the clear parts as well.

Click on the image for a larger view!
Alright, now let’s start with our pouring medium project!
Here is what you will need:


–A variety of Golden High Flow Paints
–Liquitex Pouring Medium*
–A wooden canvas board
-Toothpicks, wooden skewers or a clean palette knife
-A sturdy, and levelled surface to work on
*huge bucket of pouring medium not necessary, you will probably only need a small amount.
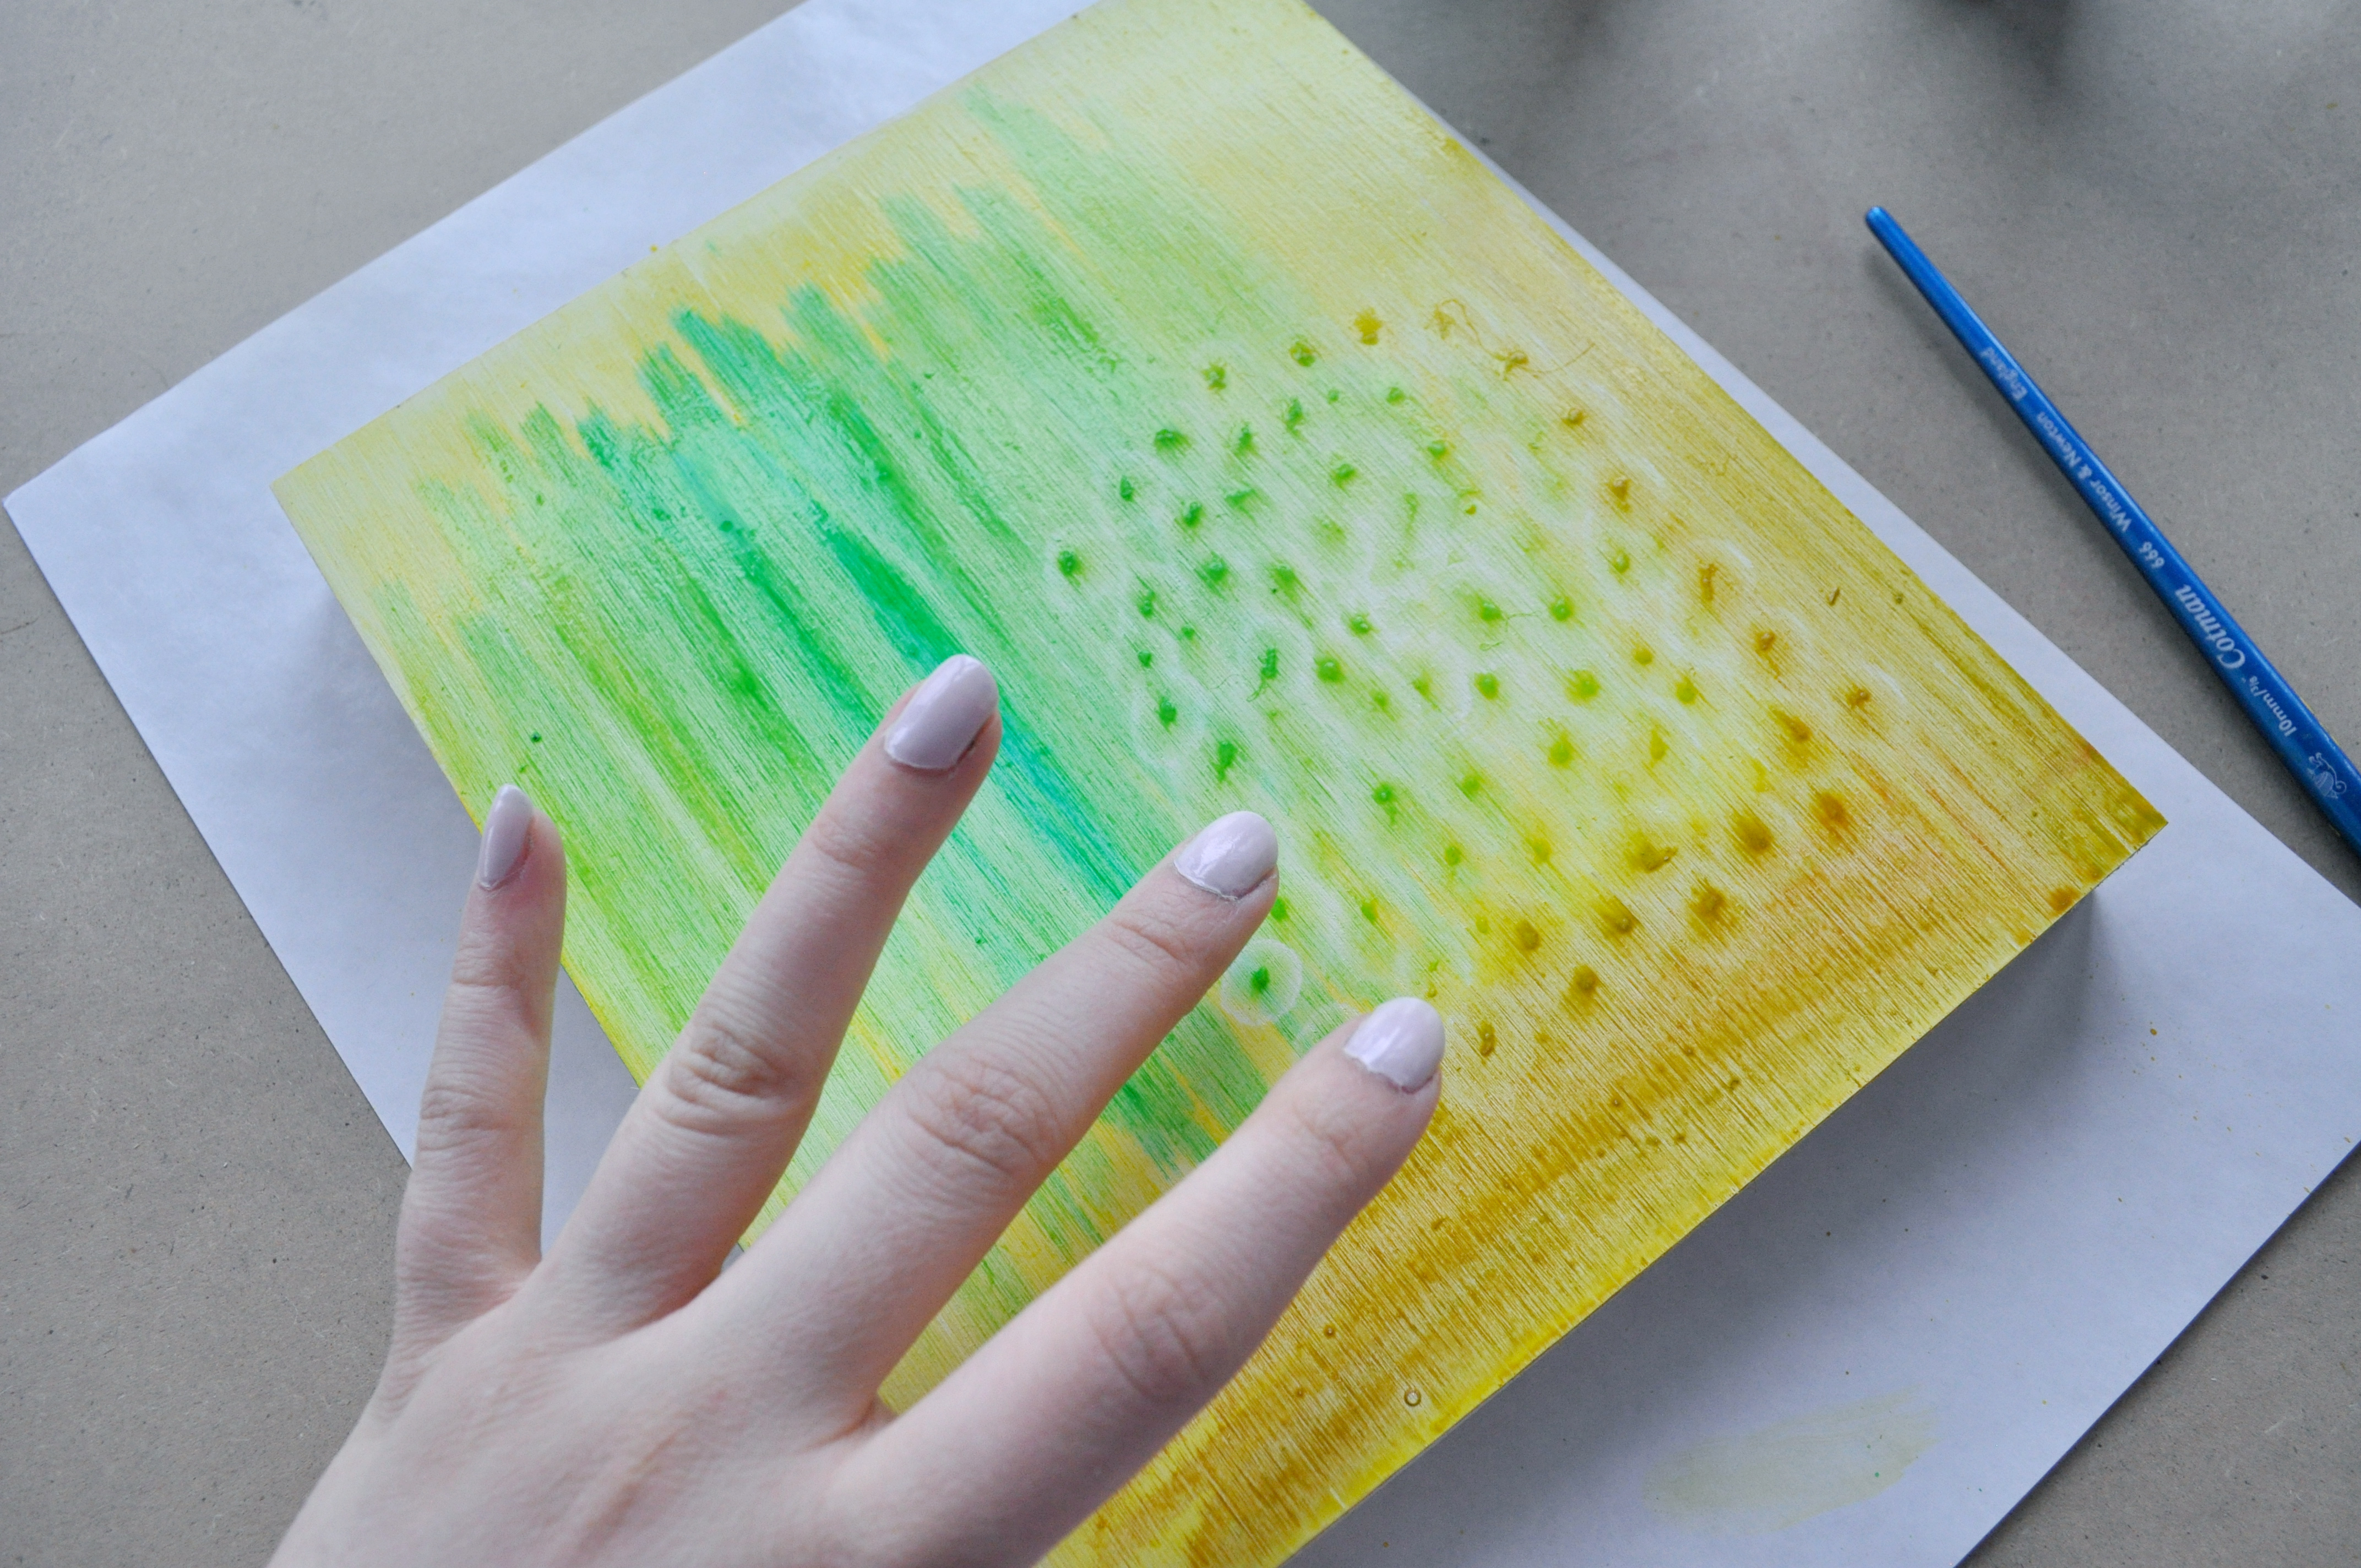
As you can see, the wood panel I started with was already primed – but that is not necessary. I actually find it a bit nicer on a non-primed surface, but this is all I had on hand! There was also a small stain on the corner of my board, so I started with creating a background to hide it. I just used high flow diluted with a bit of water from a spray bottle, and my fingers to create a pattern (sorry for the weird hand picture).

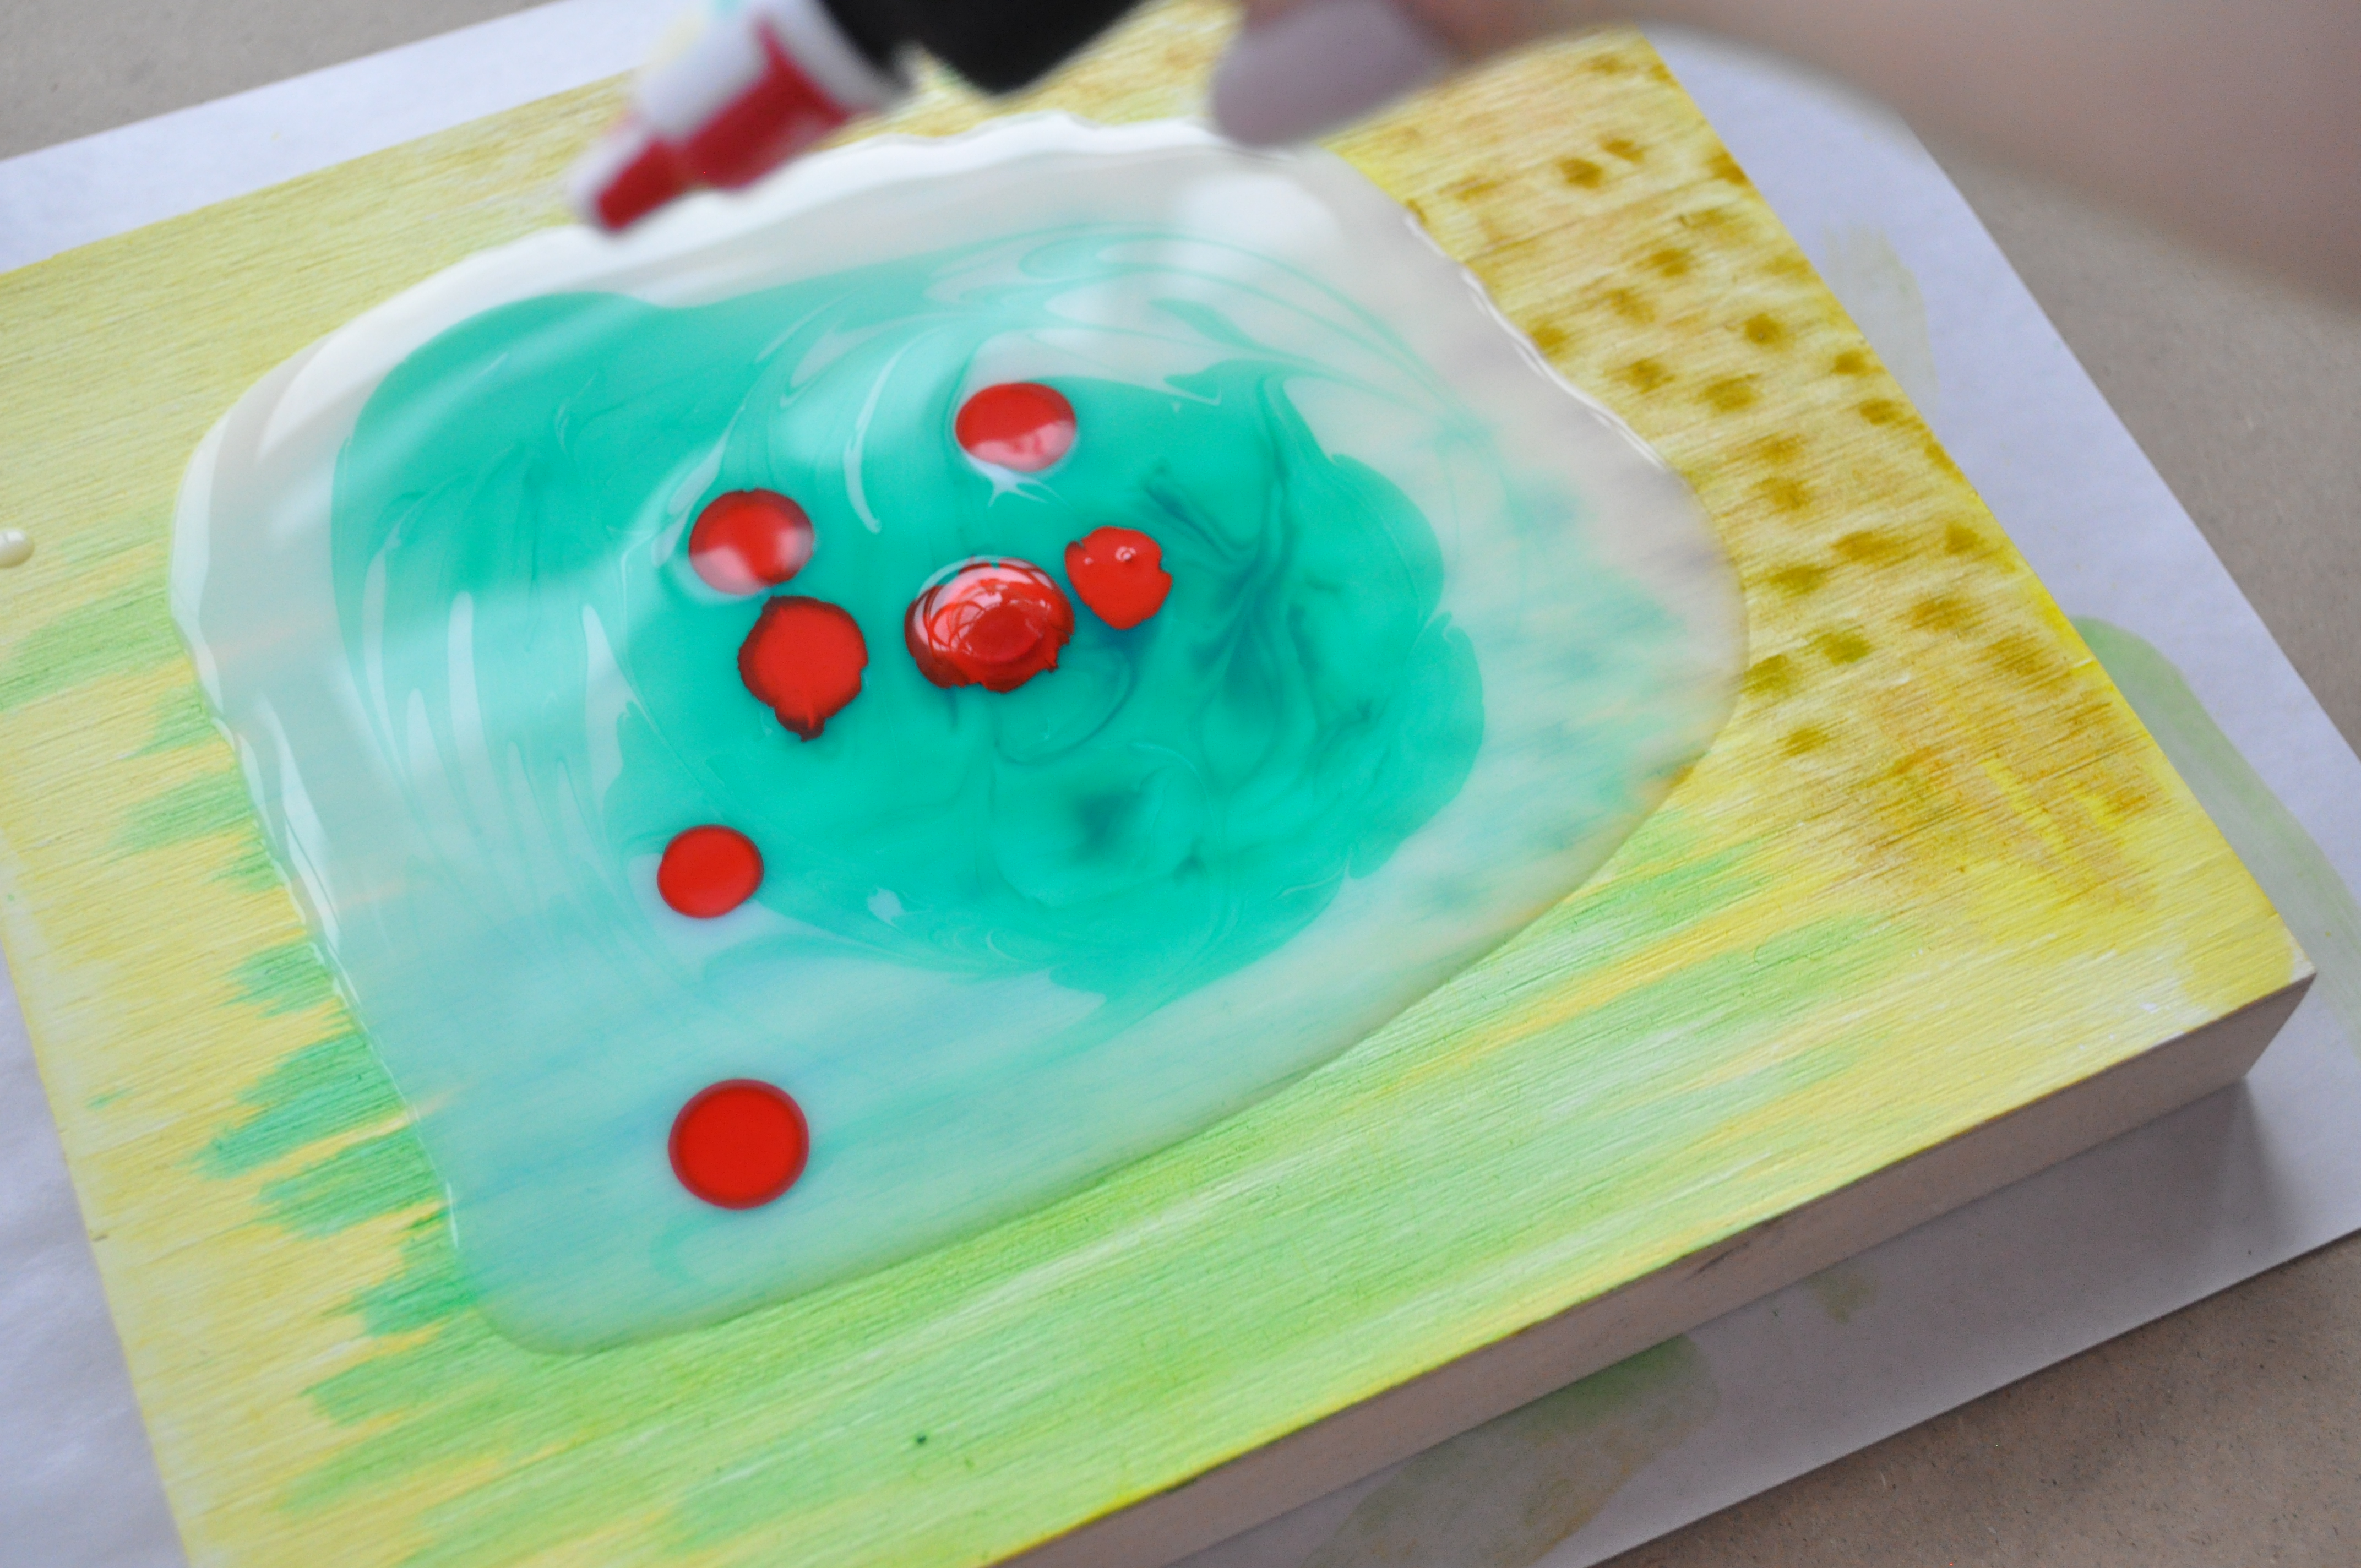
I let that dry for a while, then applied pouring medium right to the middle of it to create a nice puddle. I had to transfer my pouring medium to a smaller container (available at any dollar store).

When you have a good amount of medium on your board (be careful not to put too much!) you can now add a couple of drops of your high flow paint. I had three colours on hand, transparent phthalo green blue shade (#8560), transparent hanse yellow medium (#8557), and naphthol red light (#8532) which was opaque. Then you can drab your toothpick or palette and spread the colour around, making an effect similar to marbling.


You can then add more color to it – I chose to stick with the green and red in the end. Play around with it until you get something you like. I then proceeded to add a bit more pouring medium right on top of the paint, to add a little more dept. Once you’re satisfied with the amount of paint & medium on there, you can always just lift the board and move it around. That will make the paint and medium move and blend together, creating a more natural looking effect than just using a stick or palette.

Be careful when moving it around, as it can easily drip off the sides! When you’re pleased with what you’ve got, place it on a levelled surface to dry. I was using my easel which converts into a table-top surface, which was not exactly levelled, and the paint dripped on the sides of the board and moved around after a while. If this happens and you’ve notice it quick enough you can always wipe off the excess from the sides. Make sure to put some type of waxy paper underneath (I used painting palette paper) incase it does drip.


After a couple of hours, depending on how much medium you put on the board, everything should be dry. In the end I put medium all over the surface of my board to give it an even coating, and have it be glossy everywhere… but you can also just put the medium in a specific spot (see image way above with the two boards) to create more of a puddle effect. You can also see above where my paint dripped on the sides, which created a nice marble look after I wiped off the medium. And here is a look at the final results:

There are many other uses for High Flow as well as the pouring medium. You could also embed small things into the medium, such as sand or flower petals, or you use it to cover images and picture in mix media works. Since I have a huge bucket of it at home, you can likely expect me to make another project with the pouring medium to share with you guys in the future!
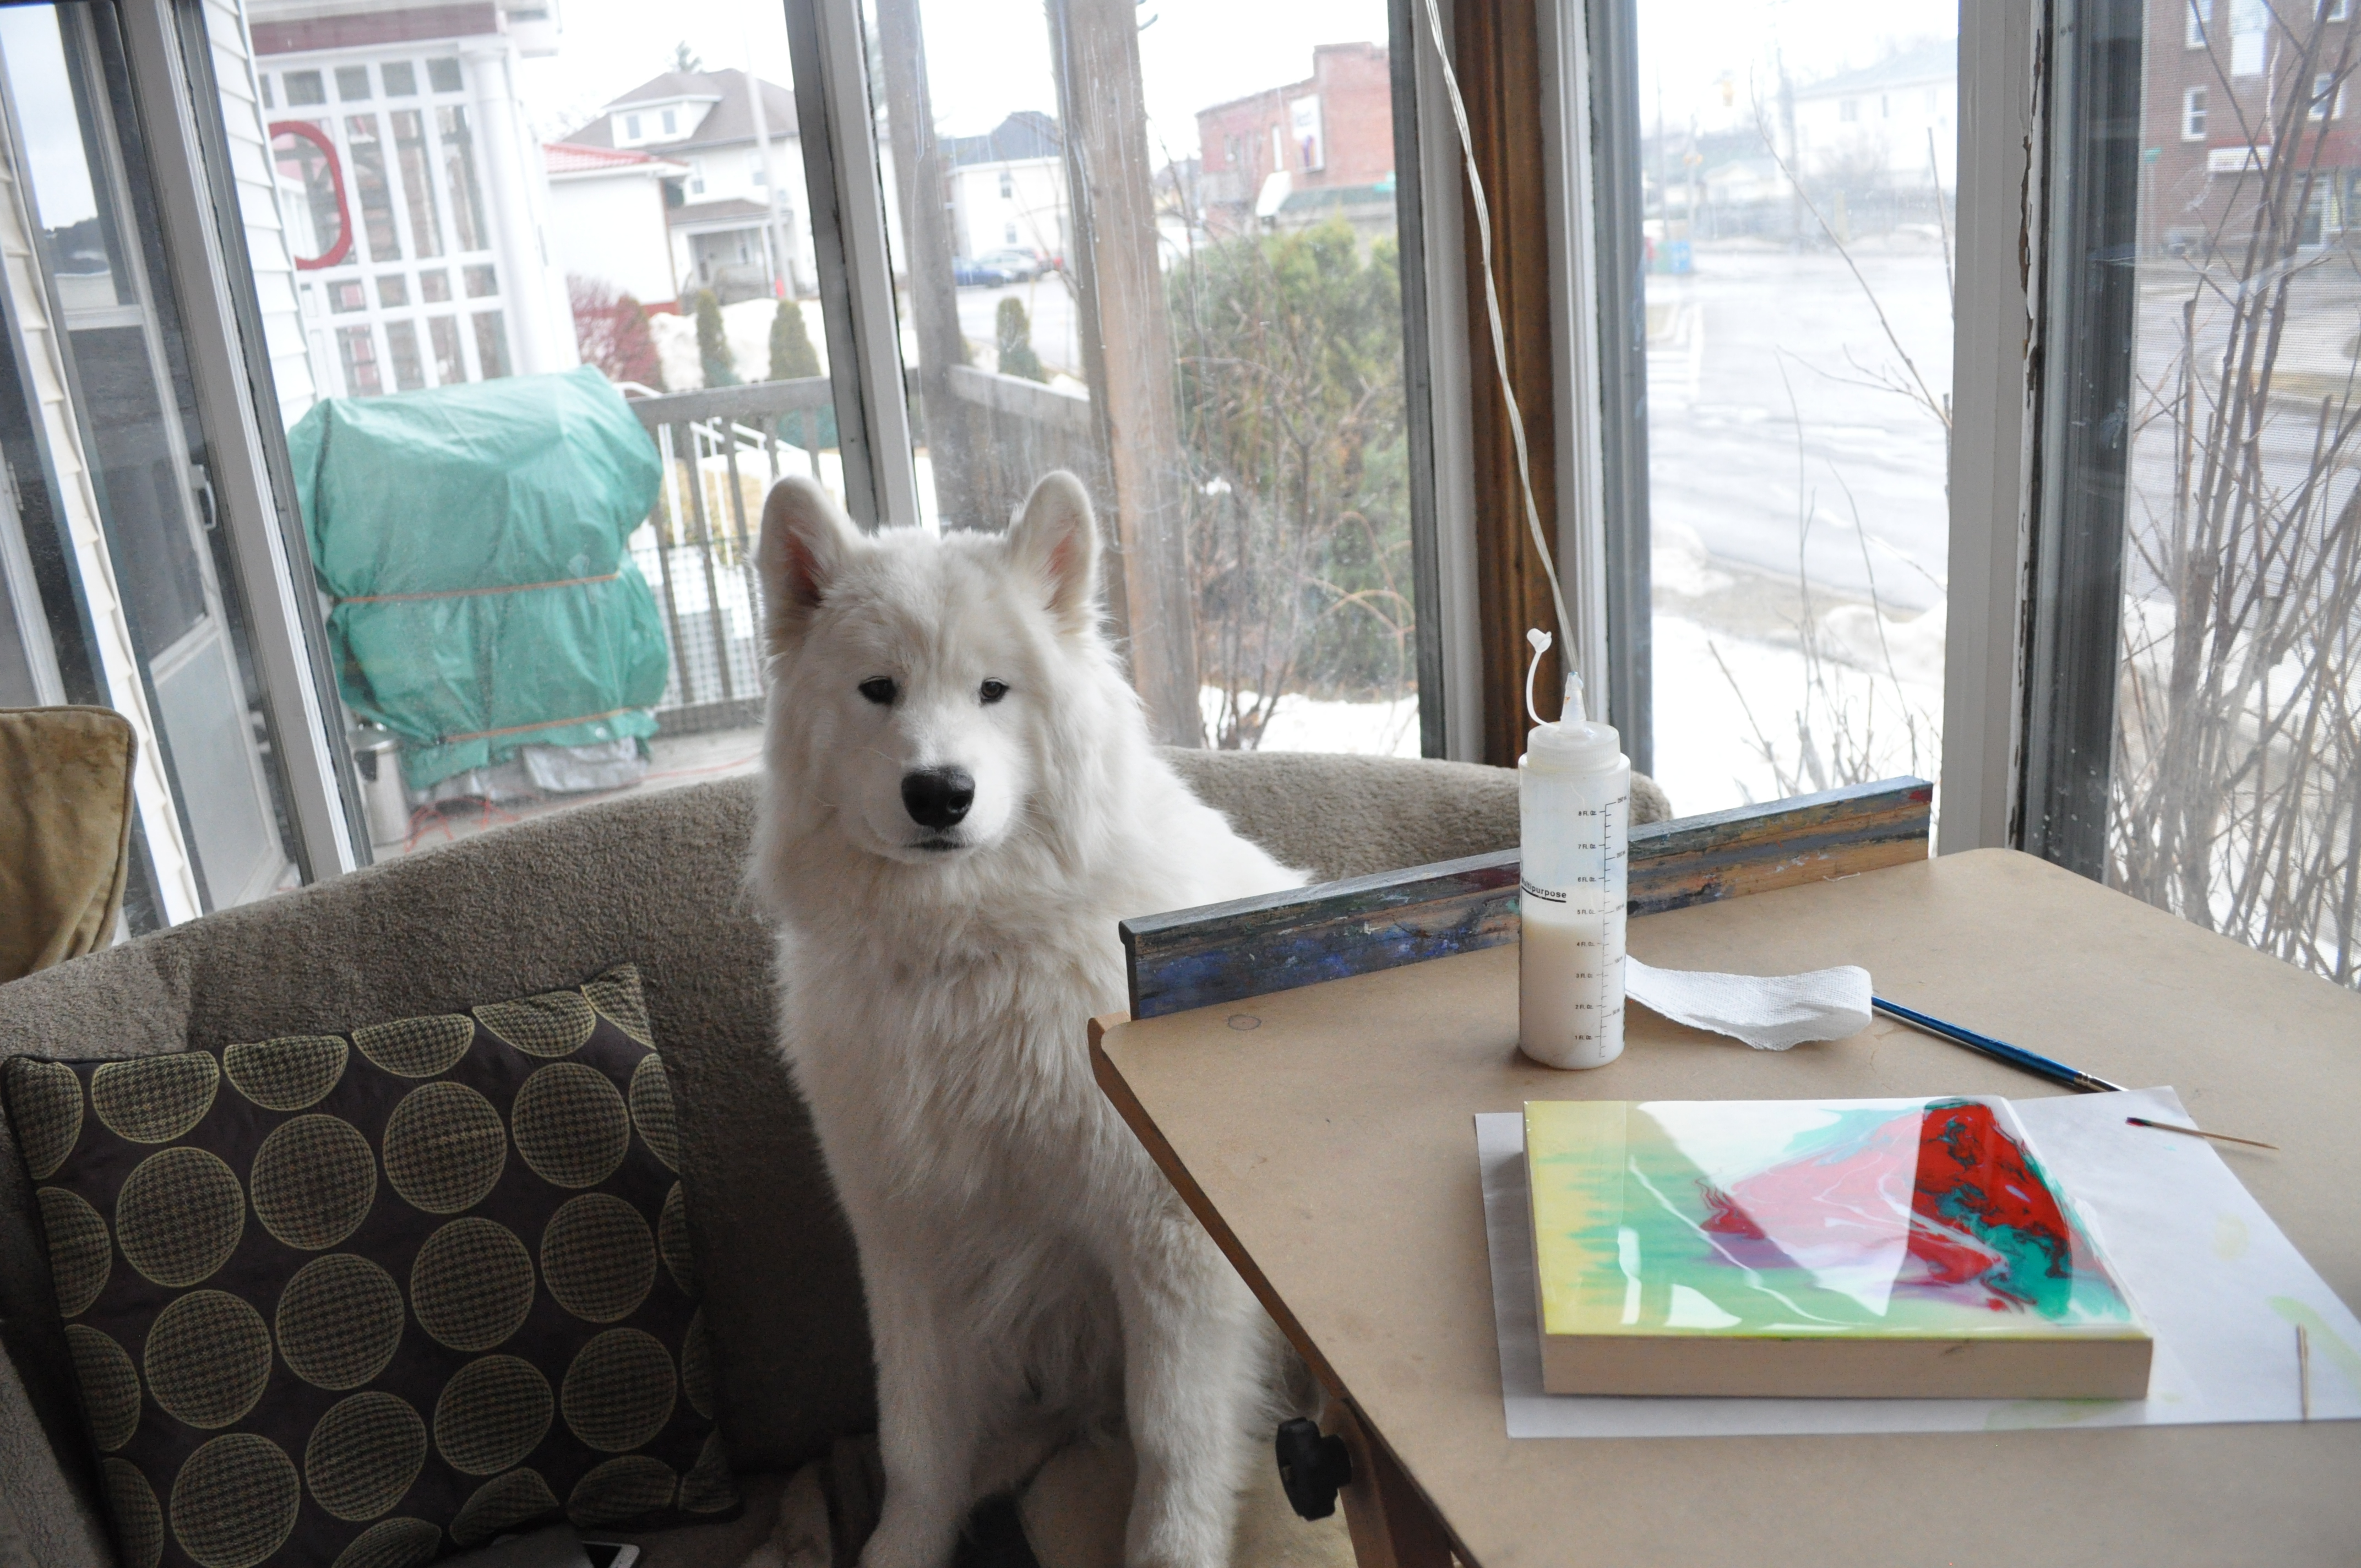
Comment bellow if you have any questions, or suggestions, and don’t forget to follow us every where @artshackart for more updates and awesome images of Ollie & art supplies!
PS. Ollie is the cute samoyed on the couch in one of the images.
-Christine

great article!
LikeLike
good post with helpful information and photos!
LikeLike
What a cool technique. Thanks for sharing.
LikeLike
In just getting into fluid pouring, hoping to make this my new go to medium, but I’m having shell shock about the number of different fluid mediums to use- What was the other brand of pouring medium?
Did you use a flow-aid of any kind?
Thanks!
BIRDIE
LikeLike
Hi Birdie!
Fluid paints and medium are a great all-around product to add to your palette! The brand of pouring medium I used in this project was the Liquitex Pouring medium, and simple, out of the tube, Golden High Flow paints, no other mediums, I don’t even think I added water to them.
For the first panel I worked on (the one where the medium is more of a puddle in the center) I used a lower quality pouring medium from Demco, and the same High Flow paints. If you look closely you can really see a difference in the two; the Demco medium cracked as soon as it dried, and the pigments went all wonky (which kinda looks cool) and broke appart.
Since making this post I have found that Golden also makes a pouring medium, called GAC 800. I haven’t had the chance to try it out yet, but I hear great things from my coworkers. Here is the link to their GAC page if you want to check it out: https://www.goldenpaints.com/products/medium-gels-pastes/special-purpose-mediums. It is definitely a bit more expensive than the Liquitex Pouring Medium, but really reduces (if no eliminates) those little cracks and bumps that the Demco and Liquitex ones created when drying.
Hope this helps!
Christine
LikeLike
I’m going to try right now! Thanks! I’ve been teaching myself to paint for just over a year now 🙂 I love it it’s amazing. I adore this technique & have had some interesting creations so far! The possibilities are endless!
LikeLike
Awesome!! 🙂
LikeLiked by 1 person
hi! thanks for the informative article! i am very interested in the liquitex pouring medium. so glossy! is it possible to use that and use it as a coat/ varnish on sculptures?
LikeLike
Hi Raven, I would not take a chance and use pouring medium as a varnish, especially on finished sculptures you are proud of and want to keep, just in case it might react oddly with the material. You can always try it on something you care less about (a tester!) to see how it dries and go from there to see if you like it or not, but I would still recommend just using regular varnish, or if you want something nice, thick, and extra shiny, a resin coat.
LikeLike
Thank you. so helpful.
LikeLike
Love the article! I’m interested in getting into the pouring techniques on canvas. The problem is that I already have almost as many mediums (glaze, crackle, retarder, gels etc) as acrylic paints. After doing much research, I’m reluctant to spend more money on yet another medium—a pouring medium. If I use my glazing medium, but instead of the average ratio 1:10, I use considerably more paint in the hopes of making a pouring medium? Considering glazing mediums are not an additive, I expect the color will remain true even if I add a bit of water. I’m all about experimenting, because after all, isn’t that a part of making art? I’d appreciate your thoughts on this as a substitute or perhaps another alternative to a pouring medium.
Thanks, Mary
LikeLike
Hi Mary!
I guess it really depends on what is the effect you’re trying to mimic. If it is the marble like mixing of the colours, the glazing mediums, or any medium (probably not as easy to do with gels) will work. But if it is the puddle-tickness of the pouring medium, then I am not sure you can get the same type of high and definition with other mediums. The thing that is most unique about pouring medium is that it is high viscosity product, kind of syrupy.
Have fun trying stuff out! 🙂
LikeLike
I am going to mix 2 parts PVA glue to 1 part water and see how that goes as you said Pouring Medium is ridiculously expensive.
LikeLike
Hi Jane, how did that work out for you?
LikeLike
Hi,
I loved the way you used the pouring medium for the painting. I have a question though, I am a beginner at this an tried Liquatex as a pouring medium, mixed it with my paints as directed but as soon as I poured it it formed a skin all over so I couldn’t move the colours around I tried my heat gun but it just started to bubble.
Can you tell me why I’m getting the skin on my canvas could it be the hot weather or humidity?
thanks Gail
LikeLike
Hi Gail,
Did you use the Liquitex Pouring Medium? Your wording is a bit confusing. And did you use heavy body paints? In this example I use High Flow paints which are a lot more liquid than a regular heavy body paint.
Also I would not use a heat gun on acrylic products, it is way too hot. Heat guns are fine if you are using actual resin (like ArtResin), but it will make regular acrylic products crack and break off your surface.
LikeLike